How to Create a Homeschool Portfolio – Supplies
The supplies are probably the favorite part of creating a homeschool portfolio. Why? We all seem to love office supplies, making things look pretty, and generally being creative. However, if you are looking for a more functional portfolio, less about pretty, and really only creating one to convey the progress of a student, we have you covered there as well!
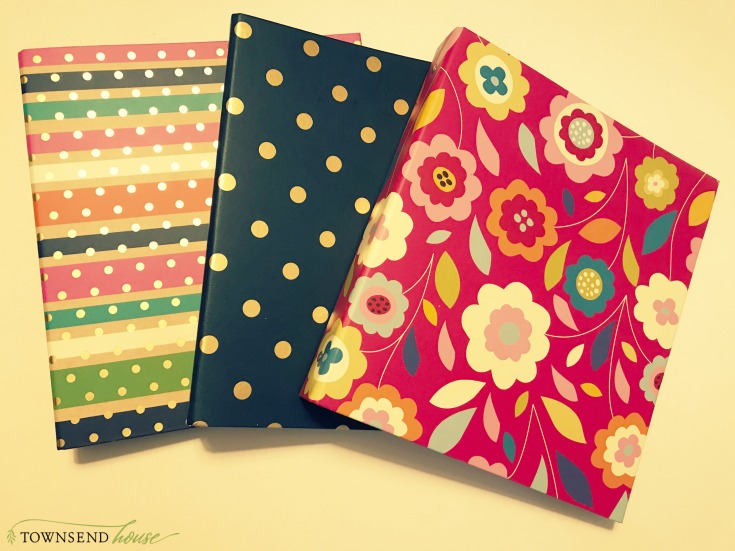
The first thing you will need in order to put together a homeschool portfolio is something for the “meat” of the portfolio to go into. The most common item for this would be a three-ring binder. This is what I use, and like the best.
However, if your child creates a lot of lap books, or large art pieces, it is possible that a three ring binder won’t work as well. There are two options with this. First, you could take pictures of the projects your child has created, and put those with a brief description of the project into the binder. Or you could use an art portfolio to keep these projects in to show to the teacher evaluating your student.
It is possible that you may want to have both of these tools in order to present your portfolio. This is absolutely fine. The beauty of a homeschool portfolio is that it is something that you create to best convey your child’s progress throughout the year. You may want to try something completely different. I will give some other options for homeschool portfolios that are a bit non-traditional at the end.
Homeschool Portfolio Supplies List
Along with the three-ring binder you will also need a three-hole punch. You will want one that doesn’t have a piece at the end making it difficult to punch any paper larger than a letter. If you punch laminated papers with that guard it won’t fit well into the binder.
The next item you will need is a simple printer. One that will be able to print color is always good, but if you only have black ink, that is also fine. You will use this to create a table of contents, to print out book lists, to type up curriculum descriptions for different subjects (if this is something your state requires). Having a printer makes all of that relatively seamless. It also makes it quite a bit neater than my handwriting!
Going along with the printer is good quality printer paper. You don’t have to get really expensive paper for this part. A heavier weight paper makes a nice keepsake for your child – especially if you do not plan to laminate. You can just as easily use copy paper, it will still convey your child’s progress.
One of the items I most enjoy using in my portfolio is our picture inserts. The reason for this is because I spend a great deal of time taking pictures of my kids “doing school” throughout the year and posting it to Instagram. At the end of the year, all I need to do is search for #homeschooling in Instagram. I then easily print out all of my pictures. When I say easily print them out, I actually mean have a service such as Snapfish or Shutterfly do the printing.
To Laminate or Not to Laminate, that is the Question
Another great option is a laminator and laminator pockets. Now, this is not necessary, but sometimes it is nice to have pieces laminated. They can be smaller pieces of artwork that you would like to have as a keepsake. Also, if you want to make some of your sections a little sturdier this is a good option. It also helps to have laminated cover pages for each section of your portfolio, and you can add tabs in order to easily open to the section when presenting, or while putting it together.
I have been using this Scotch laminator for several years. It works really well, and is pretty cheap for what it can do! I use it for a lot more than my portfolio. I use this for checklists I want the kids to use during our days and weeks as well as chore charts and flash cards for memorization.
You will also want to include some sheet protectors. These work well for putting brochures from field trips, random papers that you cannot or don’t want to laminate Certificates of completion and other awards you may want to include in the portfolio also would go here.
The final supplies you will need are some pens, your lesson planner, your calendar – so you have access to field trip dates, specific events your child attended, and the ever important number of days your child “did school” during the year.
Non-traditional Homeschool Portfolio Options
- A blog – a private free blog would be a perfect way to record your homeschool year. Blogger is free, and your kids may love to contribute to such a project. At the end of the year you can go through your site with your teacher. Or else simply send them the private link to your blog that they can check out on their own schedule. You could include pictures, videos, and entries for different days or weeks. You could also have different tabs for the different subject areas. This is as easy as having an internet connection and an e-mail address.
- A secret Facebook group. You can again upload information throughout the year, and then invite your teacher to the group for the evaluation.
Your homeschool portfolio does not need to be a traditional paper portfolio. If your kids do a lot of digital work, printing that all out may be time consuming and expensive. An online option is a great option for this. This may be the direction we go to as our kids get older. My son is already enjoying doing screen casts of his computer programming – that is hard to print out! But, putting on a private website for a teacher to evaluate would be incredibly easy!
What other supplies do you think you will use when putting together your homeschool portfolio?




We are thinking of homeschooling one of our kids. This was so helpful!
I’m so glad this was helpful for you! I have two more posts in this series coming up! Please let me know if you have any questions about homeschooling – I love to chat with moms who are considering homeschooling for the first time!